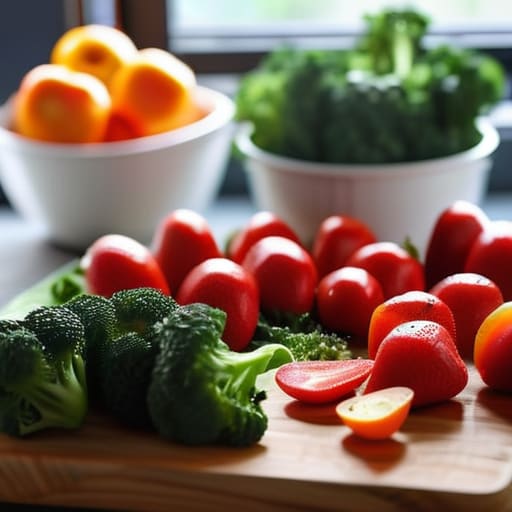
I still remember the look on my face ten years ago when I pulled a “frozen” bag of homemade beef stew out of the freezer, only to find a single, solid, grey brick of ice that had completely ruined the texture of the meat. I had followed some fancy online guide, but I hadn’t actually learned how to freeze food the right way. I ended up tossing the whole mess in the trash, and honestly, that felt like throwing twenty dollars straight into the bin. It’s frustrating because we’re all trying to save money and time, but if you don’t do it right, you’re just pre-paying to waste food later.
I’m not here to sell you on expensive vacuum sealers or complicated gadgets you’ll never use. Instead, I want to share the practical, tried-and-true methods I’ve perfected while raising a family on a budget. I’ll show you the simple habits that keep your meals tasting fresh and prevent that dreaded freezer burn. This is about making your hard-earned money work harder by mastering the basics of a smart, organized kitchen.
Table of Contents
Smart Flash Freezing Techniques for Freshness
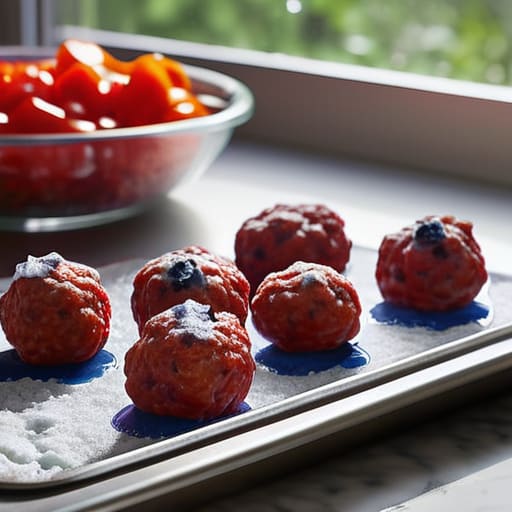
Now, if you’ve ever pulled a bag of frozen berries out of the freezer only to find them stuck together in one giant, unusable brick, you know exactly why I’m such a stickler for this part. The secret is what I call “flash freezing.” Instead of tossing a whole batch of something into a container at once, spread your items—like sliced peppers, berries, or even individual portions of cooked meatballs—out on a baking sheet in a single layer. Pop that sheet in the freezer for a couple of hours until everything is firm. Once they’re frozen solid, you can transfer them to your freezer safe containers or bags. This keeps everything loose and easy to grab, so you aren’t fighting a block of ice every time you want to make a quick stir-fry.
This little extra step is one of the absolute best practices for food storage if you want to keep things tasting fresh. By freezing items quickly and individually, you’re significantly preventing freezer burn because you won’t have as much air trapped between the pieces. It makes a world of difference in the texture, especially for things like herbs or delicate fruits.
Choosing the Best Freezer Safe Containers
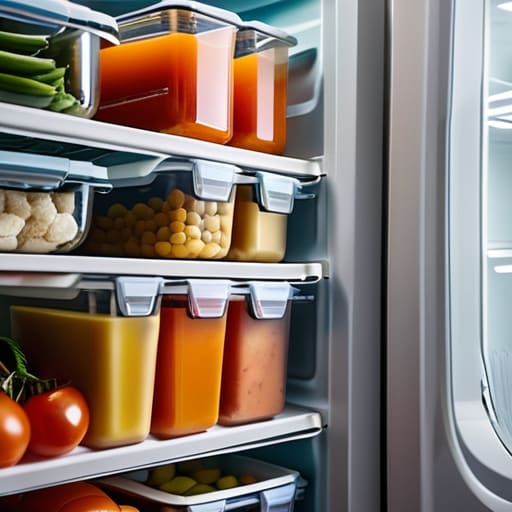
Now, let’s talk about the actual gear you’ll be using. I’ve learned the hard way that not all plastic is created equal. If you’re using those thin, flimsy containers you get from takeout, you’re asking for trouble. They don’t seal tight enough, and you’ll end up with a freezer full of ice crystals. For the long haul, I always recommend investing in heavy-duty, BPA-free plastic or, my personal favorite, glass containers with snap-on lids. Glass is wonderful because it doesn’t hold onto smells, but just a heads-up: never put a hot dish straight into the freezer, or you might crack the glass.
If you’re working with a tight budget or a crowded freezer, good old-fashioned freezer bags are your best friend. They take up way less room and are great for preventing freezer burn since you can squeeze all that pesky air out before sealing them up. Just make sure they are specifically labeled as freezer-grade; the thin sandwich bags just won’t cut it. Whatever you choose, make sure it’s a sturdy option that keeps the air out. Once you’ve got your containers sorted, you’re halfway to a much more organized kitchen.
Five Little Habits to Save Your Sanity (and Your Wallet)
- Label everything with a permanent marker and a piece of masking tape. Trust me, I’ve spent way too many evenings staring at a mystery frozen block, trying to remember if it was beef stew or chili. Write the date and what’s inside so you aren’t playing guessing games.
- Leave a little breathing room in your containers. When liquids like soups or sauces freeze, they expand. If you fill a jar right to the brim, you’re going to end up with a sticky, frozen mess all over your freezer shelves.
- Portion out your meals before they hit the ice. Instead of freezing one giant tray of lasagna, freeze it in individual serving sizes. It makes it so much easier to grab just what you need for a quick lunch without thawing out a whole week’s worth of food.
- Keep an eye on your freezer temperature. A freezer should be at 0°F, but if you’re constantly opening it to hunt for snacks or if the seal on the door is getting old, your food might develop those nasty freezer burns. A steady temperature keeps everything tasting fresh.
- Don’t be afraid to freeze the “scraps.” I always keep a gallon bag in the freezer for onion ends, carrot peels, and celery tops. Once the bag is full, toss it in a pot with some water, and you’ve got free homemade veggie stock for your next soup.
My Top Three Golden Rules for Freezer Success
Don’t let your freezer become a graveyard; label everything with a permanent marker and a date so you actually know what’s hiding in there.
Always leave a little “breathing room” in your containers for liquids to expand, otherwise you’ll end up with a cracked lid or a messy explosion.
Prioritize freezing things in portions you’ll actually use, so you aren’t forced to thaw a massive tub of soup just for a single bowl.
My Golden Rule for the Freezer
“I’ve learned the hard way that a freezer isn’t just a cold box; it’s a way to protect your hard-earned money, but only if you treat it with a little respect and a lot of planning.”
Marion Kessler
Making It Work for You
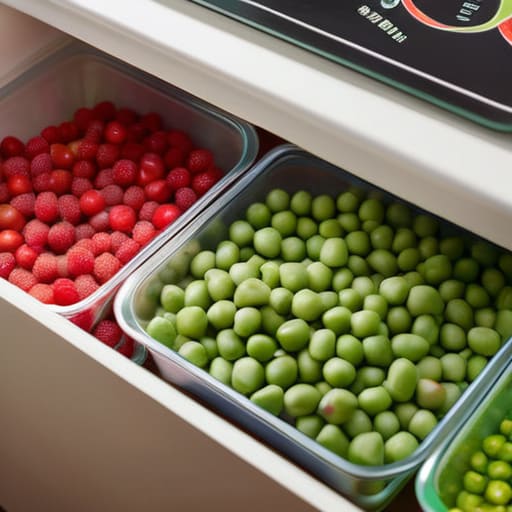
At the end of the day, mastering your freezer is really about mastering your schedule and your wallet. We’ve talked about the importance of using the right containers so you aren’t fighting a block of ice later, and how a little bit of flash freezing can keep your produce from turning into mush. Remember, it doesn’t have to be perfect or involve fancy, expensive vacuum sealers to make a difference. If you just focus on labeling everything clearly and using airtight seals, you are already miles ahead of most people. It’s those small, consistent habits—like prepping a little extra during your Sunday batch cook—that eventually turn into real savings and much less stress during those hectic weeknight dinners.
I know that looking at a mountain of leftovers or a bag of frozen veggies can sometimes feel like just another chore on an endless to-do list. But I want you to look at your freezer differently; don’t see it as a storage bin, but as a safety net you’ve built for yourself. Every container you prep is a gift to your future self—a gift of time, a bit of extra breathing room, and the peace of mind that comes from being prepared. You don’t need a massive budget to take control of your home, you just need to start with one small step at a time. You’ve got this.
Frequently Asked Questions
How long can I actually keep things in the freezer before they start tasting like "freezer burn"?
Look, I’ll be honest: even with the best containers, nothing stays perfect forever. For things like berries or cooked veggies, I try to use them within three to six months. Meat can stretch to a year if it’s vacuum-sealed, but after that, the quality really starts to dip. If you see those icy crystals forming on the surface, that’s freezer burn creeping in. When in doubt, use it for a stew rather than a centerpiece.
Do I really need to blanch my vegetables first, or can I just toss them in as they are?
I know it feels like an extra chore when you’re already tired, but please, don’t just toss them in raw. If you skip blanching, those veggies will turn mushy, lose their bright color, and—worst of all—lose their nutrients. Think of blanching as a quick “reset” button that stops the enzymes from ruining the flavor. It takes ten minutes of boiling and icing, but it’s the difference between a good stir-fry and a soggy mess.
Is it safe to freeze leftovers that have already been sitting in the fridge for a day or two?
Short answer: Yes, you can, but don’t wait too long. If those leftovers have been sitting in the fridge for a day or two, they’re still perfectly safe to freeze. Just make sure they haven’t started smelling “off” or looking slimy. I usually try to get them into the freezer within two days of cooking; the longer they sit, the more the texture might suffer once they thaw out.