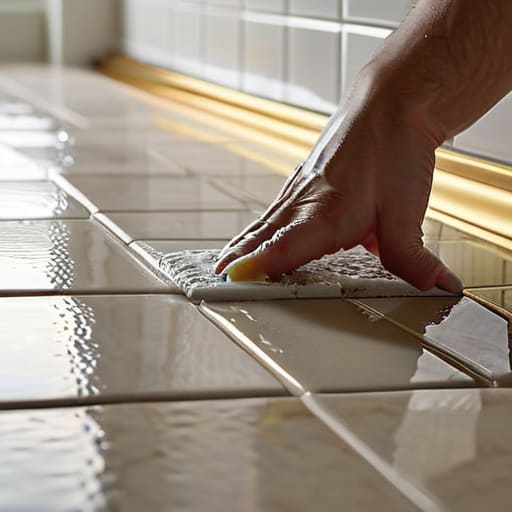
I remember standing in my kitchen back in the mid-nineties, staring down at the floor tiles and feeling a genuine sense of defeat. No matter how much I mopped, those lines between the tiles just stayed this dull, muddy gray that made the whole room look tired. I used to think I needed to drop fifty dollars on some fancy, industrial-strength chemical spray just to see a difference, but let me tell you: that’s a total myth. You don’t need a chemistry degree or a massive budget to figure out how to clean grout; most of the time, you just need a bit of elbow grease and things you already have sitting in your pantry.
In this guide, I’m going to skip the expensive gadgets and the complicated instructions that leave you more frustrated than when you started. I’ll show you exactly how to tackle those stubborn stains using simple, household staples like baking soda and vinegar. We’ll walk through the best tools for the job—including a trick with an old toothbrush that works wonders—so you can get your floors looking bright and fresh without breaking the bank.
Table of Contents
- Step-by-Step Instructions
- Smart Solutions for Removing Grout Stains From Tile
- The Best Grout Cleaning Tools for a Tidier Home
- Five Little Tricks to Keep Your Grout Looking Fresh
- The Bottom Line on Keeping Your Grout Bright
- ## A Little Perspective on the Dirty Work
- A Little Clean Goes a Long Way
- Frequently Asked Questions
Guide Overview
Tools & Supplies
- Stiff-bristled brush or grout brush for scrubbing
- Microfiber cloth or sponge for wiping
- Baking soda (1 cup)
- White vinegar (1/2 cup)
- Warm water (as needed)
Step-by-Step Instructions
- 1. First things first, clear the area. You don’t want to be tripping over a bucket or a mop while you’re working, so move the bath mats, the little rug in front of the sink, or any stray toys out of the way. I always like to clear the floor space completely so I can stand comfortably and really focus on the task without feeling rushed.
- 2. Grab yourself a good cleaning solution before you even touch a sponge. You don’t need to run out and buy those expensive, specialized cleaners that promise miracles; honestly, most of the time, a simple mixture of baking soda and warm water does the trick just fine. If the grime is particularly stubborn, a little splash of white vinegar can help cut through the grease, but just be careful if you have natural stone floors, as that acidity can be a bit too much for them.
- 3. Now, it’s time to get to work. I like to take a handful of that baking soda paste and spread it directly along the grout lines. Don’t try to do the whole room at once—that’s a recipe for exhaustion. Instead, work in small sections, maybe just a few square feet at a time, so the paste doesn’t dry out before you’ve had a chance to scrub it.
- 4. This is where the real elbow grease comes in. You’ll want an old toothbrush—the kind you’re about to throw away anyway—to really get into those tiny crevices. Scrub in a steady, circular motion until you see the dirt lifting away from the line. It might take a little more effort than you’d like, but I promise it’s much more satisfying to see that bright line peeking through the grime.
- 5. Once you’ve scrubbed the section, take a damp sponge or a clean microfiber cloth to wipe away the paste. Be sure to rinse the sponge frequently in a bucket of clean water so you aren’t just moving the dirt around the floor. You want to lift that sludge right up and get it off the tile for good.
- 6. If you notice a few stubborn spots that just won’t budge, don’t get discouraged. Sometimes a little extra pressure or a tiny bit more cleaning solution is all it takes. I’ve learned over the years that patience pays off more than any fancy chemical ever could; just take your time and don’t rush the process.
- 7. Finally, once everything is clean and rinsed, grab a dry towel and wipe the floor down one last time. Leaving water to sit on the grout can actually lead to more problems down the road, so drying it thoroughly is a crucial final step. Once it’s dry, take a step back and admire your handiwork—it makes the whole room feel so much fresher.
Smart Solutions for Removing Grout Stains From Tile
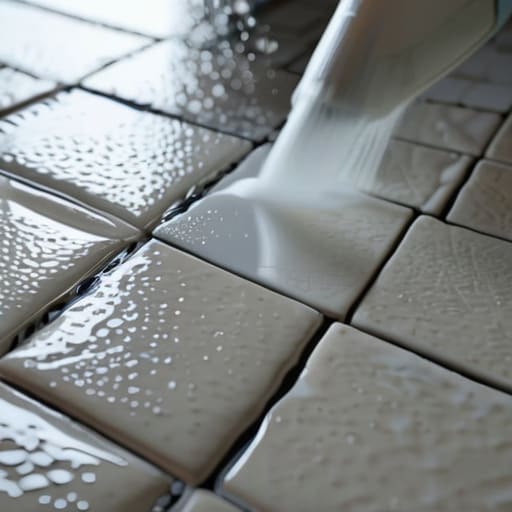
Now, if you’re staring at a particularly stubborn patch of discoloration, don’t panic. Sometimes the standard scrub just won’t cut it, and that’s when you need to dig a little deeper into your pantry. My go-to for those nasty spots is a simple baking soda and vinegar grout cleaner mixture. I usually make a thick paste with the soda first, spread it over the stain, and then spritz a little white vinegar on top. It’ll fizz up like a science fair volcano, but that reaction is exactly what helps lift the grime out of those tiny pores. Just let it sit for about ten minutes before you start scrubbing—patience is half the battle here.
If you’re dealing with a much larger area, like a shower floor that hasn’t seen a deep scrub in a year, you’re looking at some serious deep cleaning bathroom tile grout. In these cases, I’ve found that the best grout cleaning tools aren’t the expensive electric ones you see on late-night infomercials. Honestly, a stiff-bristled nylon brush or even an old toothbrush works wonders. Just remember to work in small sections so you don’t get overwhelmed or end up with a wet mess that dries before you can rinse it.
The Best Grout Cleaning Tools for a Tidier Home
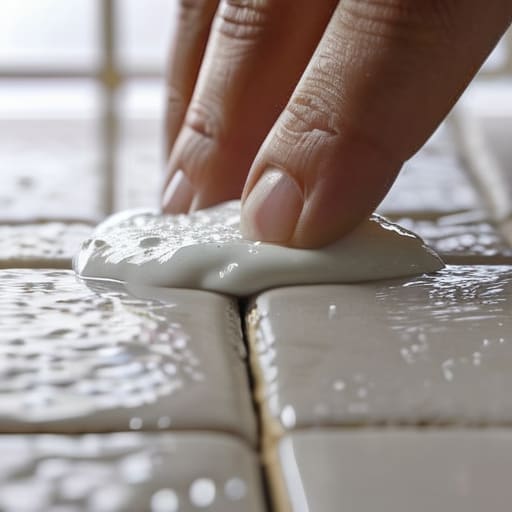
Now, you don’t need to go out and buy a whole kit of expensive, specialized chemicals to get the job done. Honestly, most of the best grout cleaning tools are probably already sitting in your pantry or under your sink. I always keep a box of baking soda on hand, and if you mix that with a little white vinegar, you’ve got a powerhouse cleaner that’s much gentler on your lungs than those harsh store-bought sprays. For the actual scrubbing, skip the heavy-duty steel brushes that can gouge your tile; instead, grab an old toothbrush or a stiff-bristled dish brush. They give you just enough control to get into those tiny crevices without wearing yourself out.
If you’re tackling a bigger project, like deep cleaning bathroom tile grout after a long winter, a small handheld steam cleaner can be a total lifesaver. It does a lot of the heavy lifting for you, loosening up that stubborn grime so you aren’t scrubbing until your arms ache. Just remember to work in small sections so the solution doesn’t dry before you can rinse it away.
Five Little Tricks to Keep Your Grout Looking Fresh
- Don’t wait until the floor looks like a disaster zone. I’ve learned that a quick, five-minute scrub once a month keeps the grime from ever really setting in, which saves you a whole lot of elbow grease later.
- If you’re dealing with a particularly stubborn spot, try letting your cleaning solution sit for at least ten or fifteen minutes. It might feel like you’re wasting time, but letting that baking soda paste do the heavy lifting is much easier than scrubbing until your arms ache.
- Always test a tiny, hidden corner of your tile first. I know it sounds tedious, but some of those fancy colored tiles can react badly to even mild cleaners, and I’d hate for you to ruin a floor you just worked so hard to clean.
- Keep a dedicated old toothbrush in your cleaning caddy. It’s much more effective than those big, expensive brushes for getting into those tight little crevices where the dirt likes to hide.
- Once you’ve got it clean and dry, consider a grout sealer. It’s a little extra step, but it creates a barrier that makes your next cleaning job a breeze instead of a battle.
The Bottom Line on Keeping Your Grout Bright
Don’t go out and buy those expensive, fancy specialty cleaners; a simple mix of baking soda and a little elbow grease usually does the trick.
Consistency is your best friend—a quick scrub once a month is much easier than trying to tackle years of built-up grime all at once.
Always test a small, hidden spot first to make sure your cleaning mix doesn’t mess with the color of your tile or grout.
## A Little Perspective on the Dirty Work
“Don’t let those dark lines in your tile make you feel like your whole house is falling apart. Cleaning grout isn’t about achieving some impossible perfection; it’s just about taking a little time to care for the space you live in so it feels bright and manageable again.”
Marion Kessler
A Little Clean Goes a Long Way
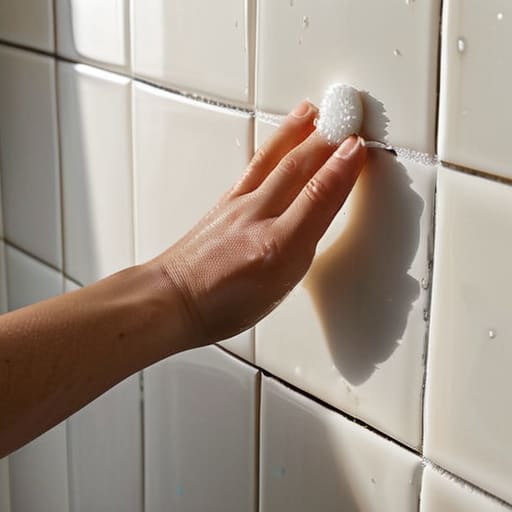
At the end of the day, cleaning grout doesn’t have to be this massive, overwhelming project that takes up your entire Saturday. Whether you’re using a simple mixture of baking soda and vinegar or reaching for that old toothbrush to get into the stubborn corners, the goal is just to make progress. Remember, you don’t need a cabinet full of expensive, chemical-heavy cleaners to get the job done; most of what you need is likely already sitting under your kitchen sink. Just take it one section at a time, use the right tools for the specific stain, and don’t forget that a little bit of consistent maintenance prevents those lines from turning dark and dingy in the first place.
I know that when you’re staring at a floor that looks a little tired, it can feel like just one more thing on an endless to-do list. But there is a real, quiet sense of peace that comes from walking into a room that actually looks cared for. It’s not about having a showroom-perfect house; it’s about creating a space where you can actually breathe easy. Once you see those bright, clean lines again, you’ll realize that these small, practical wins are exactly how we build a home that feels like a sanctuary. You’ve got this, so grab your brush and get started.
Frequently Asked Questions
Is it safe to use vinegar on my grout, or will it actually damage the sealer over time?
That’s a great question, and I’m glad you asked before reaching for the pantry staples. Here’s the straight truth: if your grout is sealed, you’ll want to be real careful with vinegar. That acidity can actually eat away at the sealer over time, leaving your grout unprotected and prone to staining. If you do use it, dilute it heavily with water, but personally, I’d stick to a gentle dish soap solution to play it safe.
How often should I really be resealing my grout once I've gotten it clean?
Now that you’ve put in all that hard work to get those lines looking bright again, you’ll want to protect your investment. For most busy households, I recommend resealing your grout every one to two years. If you have high-traffic areas like a kitchen floor or a shower that gets constant soap scum, check it more often. A quick way to tell? Pour a little water on the grout; if it soaks in instead of beading up, it’s time for another coat.
Can I use a steam cleaner for this, or is that just a waste of time and electricity?
Honestly, a steam cleaner is far from a waste of time—it’s actually one of my favorite shortcuts. If you’ve got one, use it! The high heat does a lot of the heavy lifting by melting away grime that scrubbing alone might miss. Just a word of caution from someone who’s learned the hard way: check your grout first. If it’s old or crumbling, that intense steam can sometimes loosen things up too much.